
I still remember the first time Ulidim, the Hound, crashed into my Enigma of the Labyrinth run. I was in Papago Hollow, happily stuffing valuables into my pockets, and then a warning flashed across the top of my screen. A short cutscene followed. The Hound had arrived, and my loot had invited it. In 2026, this encounter is still one of my favorite examples of risk and reward in Zenless Zone Zero, and it remains exclusive to the Enigma of the Labyrinth mode that arrived in Version 3.1. My notes below are how I find it, how I run from it, and how I fight it when I am actually ready.
Where I Find Ulidim
I only meet Ulidim inside the Enigma of the Labyrinth, the permanent game mode introduced in Version 3.1. To make the Hound appear, I have to collect enough valuables in Papago Hollow to attract its attention. Those valuables are not just flavor items. They can be sold for a considerable amount of Gear Coins or used for certain commission items, which is exactly why the hunt feels so tense. I usually find them in areas with high Ether concentration.

Every time I pick one up, the chance of attracting Ulidim increases. When the warning flashes and the short cutscene plays, I stop looting and start planning. I treat every valuable as bait. That mindset keeps me from being surprised when the Hound enters the vicinity.
How I Avoid the Hound
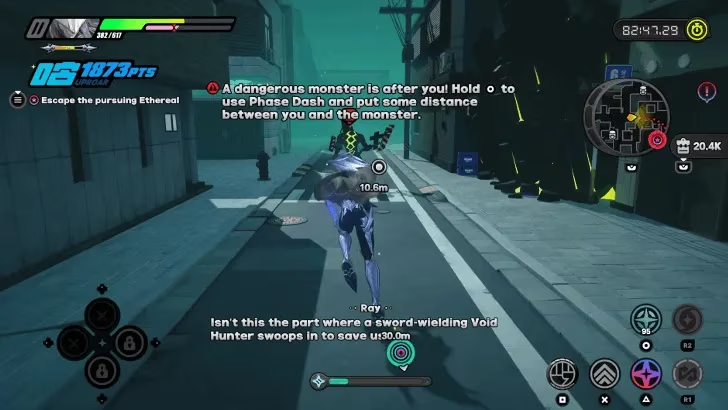
My first rule is not elegant: run. I floor it and flee as far and as fast as I can until I escape its line of sight. This is easier said than done, because my valuables are what attract it. Ulidim closes in using their scent, so simply walking away rarely works for me. I aim for an evacuation beacon or an escape route manned by Boorigitte. Those safe points are my priority when I am carrying too much loot and not enough confidence.
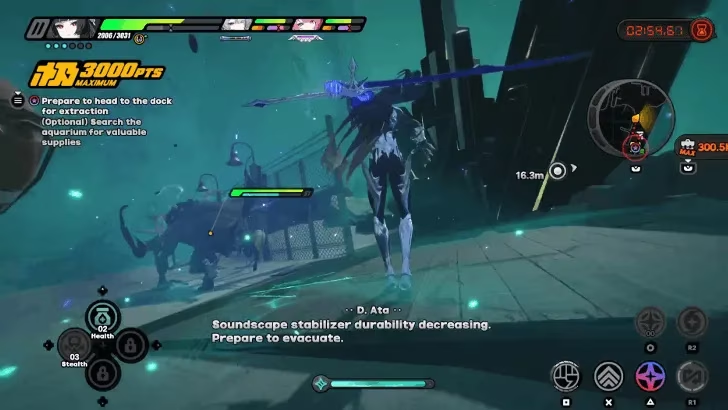
Another way I escape Ulidim is by shredding its Cacophony Shield. Destroying this shield causes Ulidim to back off and disappear until I come across it again at a different location. However, Ulidim is an extremely powerful boss, so this comes with great risk. I only try this once my gear is up to par and I have enough health. If I am low on health or my Agents are undergeared, I keep running.
Defensive Assists are my best tool for this. Using them, especially Pyrois' Perfect Block ability, shreds Ulidim's Cacophony Shield significantly. A lot of Ulidim's attacks have red attack cues that can only be dodged, but those that can be parried glow purple instead of gold. When I see purple, I use a Defensive Assist and let Pyrois Perfect Block. I practice this timing because it turns a dangerous chase into a manageable reset.
How I Beat Ulidim
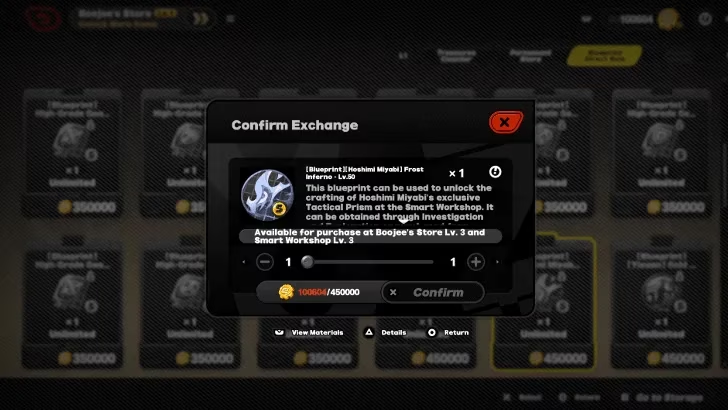
If my sole intention is to bring down Ulidim, then I must have the best equipment available for my Agents. I equip the best gear and tactical gear, and I craft Tactical Prisms for certain Agents if I have them. I may need to upgrade the Smart Workshop for the gear and visit Boojee's Store to get the blueprint for Agents' Tactical Prisms. I do not rush this checklist. The Hound punishes sloppy preparation.
| My preparation task | Why I do it |
|---|---|
| Upgrade the Smart Workshop | I need better gear before I commit to a real fight |
| Visit Boojee's Store | I want the blueprint for Agents' Tactical Prisms |
| Craft Tactical Prisms | Certain Agents gain a useful edge |
| Practice Defensive Assists | Pyrois' Perfect Block shreds the Cacophony Shield |
| Check my health and gear | I only fight when I can survive the risk |
In the fight itself, I separate red cues from purple cues. Red means dodge. Purple means I can parry, so I use a Defensive Assist as often as I can. I do not greed for damage when my shield pressure is low. I treat the Cacophony Shield as my escape valve. If I break it, Ulidim backs off, and I get breathing room. That breathing room is often more valuable than one more attack string.
As of 2026, I still check for updates because Zenless Zone Zero can shift details over time. My baseline, however, comes from the Version 3.1 debut of Enigma of the Labyrinth. I keep separate notes for the Enigma of the Labyrinth, Perfect Assist timing, Smart Workshop upgrades, and the full boss list, because those systems all feed into this fight.
Boss Information
| Field | My notes |
|---|---|
| Boss | Ulidim, also known as the Hound |
| Mode | Enigma of the Labyrinth, permanent mode from Version 3.1 |
| Location | Papago Hollow |
| Trigger | Collect enough valuables to attract its attention |
| Avoidance | Flee to an evacuation beacon or Boorigitte's escape route, or shred the Cacophony Shield |
| Key mechanic | Cacophony Shield; red cues are dodge-only, purple cues can be parried |
| Best tool | Defensive Assists, especially Pyrois' Perfect Block |
| Preparation | Best equipment, tactical gear, Tactical Prisms, Smart Workshop, Boojee's Store |

My final advice is simple. Treat Ulidim as a hunt, not a normal boss. Collect valuables with a plan, run when the warning appears, and only break the Cacophony Shield when my gear and health can handle the risk. When I follow that routine, the Hound feels less like a random disaster and more like a challenge I chose to face.